
Get Your Prepaid eSIM Now and Skip Roaming Fees for Good
A prepaid eSIM is a digital SIM card that you buy and activate online before you travel, with no physical plastic to swap or wait for. You simply scan a QR code or tap to install it, and it instantly connects your phone to a local network with a set data allowance already paid for. That means you skip roaming bills and airport kiosk lines, landing with mobile data ready to go the moment you switch off airplane mode.
What Exactly Is a Prepaid eSIM and How Does It Differ From a Physical SIM?
A prepaid eSIM is a digitally embedded SIM card that you purchase and activate online, loading a cellular plan onto your device’s hardware without a plastic card. Unlike a physical SIM, which you must physically insert and swap between phones, a prepaid eSIM lives inside your smartphone or tablet’s chip, allowing instant activation via a QR code or app. This means you can buy, download, and connect to a local network in minutes, even before you travel, while your physical SIM remains untouched for calls and texts back home. The key difference is flexibility: a prepaid eSIM lets you store multiple profiles simultaneously, switching carriers via settings rather than hunting for a pin tray. You eliminate the risk of losing or damaging a tiny SIM card, and you can change your prepaid plan without visiting a store. However, unlike a physical SIM, your device must be eSIM-compatible, which most modern unlocked phones are, but not all budget models.
Understanding the Core Technology Behind the Digital Profile
The core of a prepaid eSIM lies in its embedded universal integrated circuit card, a tamper-resistant chip soldered directly onto your device’s motherboard. Unlike a physical SIM, which stores your profile on a removable plastic card, the eSIM chip holds multiple digital profiles in a secure element—a dedicated, isolated memory partition. When you purchase a prepaid plan, you receive a QR code or activation code, which triggers a remote provisioning process: your device downloads and installs an encrypted profile onto this secure element via an Over-The-Air connection. This profile contains the authentication keys, network identifiers, and carrier settings that would normally reside on a plastic SIM. The result is that switching carriers becomes a purely software-based operation, eliminating the need to physically swap cards or even power off your device. The secure element’s cryptographic isolation ensures that each profile remains protected and can be independently erased or activated.
What role does the eUICC play in swapping prepaid profiles? The eUICC (embedded Universal Integrated Circuit Card) acts as the hardware manager, allowing the secure element to hold multiple profiles simultaneously and switch between them dynamically—so you can store a travel prepaid plan and a home plan, then select which one is active without touching any hardware.

Prepaid vs. Postpaid vs. Traditional SIM: Which One Matches Your Travel Style?
Choosing between prepaid, postpaid, and a traditional SIM really comes down to how you roam. A prepaid eSIM wins for controlled travel budgets because you pay upfront for a fixed data pool, then ditch it when you land back home. Postpaid plans tempt frequent flyers with automatic global coverage, but you risk surprise overage fees and a monthly bill that keeps growing. A traditional physical SIM forces you to hunt for local kiosks and swap cards, which slows you down. For quick trips, prepaid eSIMs are effortless; for long-term expats, postpaid might actually save hassle.
- Prepaid eSIM: Buy a data package before departure, activate instantly, and avoid bill shock.
- Postpaid: Best if you travel monthly and want one consolidated bill, but watch out for roaming caps.
- Traditional SIM: Useful for staying on one carrier, yet you must physically switch cards per country.
- Your style: Backpackers prefer prepaid flexibility; business travelers lean postpaid predictability.

How Do You Set Up and Activate a Prepaid eSIM on Your Phone in Under 5 Minutes?
To activate a prepaid eSIM in under five minutes, first confirm your phone is carrier-unlocked and supports eSIM, then purchase a plan from a provider like Airalo or eSIM.net. Immediately after checkout, you’ll receive a QR code or a manual activation code—scan it via *Settings > Cellular > Add eSIM* on iPhone or *Settings > Connections > SIM manager* on Android. For instant setup, tap the direct installation link sent to your email instead of scanning, which auto-fills the profile. Next, assign the eSIM to your data line and enable roaming if required by the plan; the profile typically activates within seconds. Reboot your phone once to force carrier registration, then toggle airplane mode on and off to refresh network bars. If activation stalls, manually input the SM-DP+ address and activation code from your purchase receipt—most activation failures stem from choosing the wrong “default line” during the prompt, so always select your physical SIM for calls and texts. Finally, verify connectivity by loading a webpage; you’re live before your coffee cools.
Step-by-Step Installation Guide for iPhone and Android Devices
For iPhone, open **Settings > Cellular > Add eSIM**, then scan the QR code from your prepaid provider or enter the activation code manually; label the line and set it as your default for data. On Android, navigate to Settings > Network & Internet > Mobile Network > Add Carrier, then scan or paste the details—your device prompts you to confirm the eSIM profile instantly. Both platforms require a stable Wi-Fi or existing cellular connection for download, which typically finishes in under sixty seconds. After activation, restart your phone once to lock in network settings, then verify data by toggling roaming off and placing a test call. This prepaid eSIM activation workflow eliminates physical SIM swaps and works globally.
What to Do If Your Device Isn’t Listed as eSIM-Compatible
If your device isn’t listed as eSIM-compatible, first verify its actual capability by checking the official manufacturer specifications, as some carrier-branded models lack the hardware despite similar names. Next, confirm the handset is carrier-unlocked; a locked phone can block eSIM activation even if the hardware exists. Should the device lack eSIM support entirely, purchase a physical SIM from the same prepaid eSIM provider—most offer a mail-delivered SIM with identical data plans. Alternatively, use a temporary eSIM adapter (a physical SIM that pairs with a companion app) to mimic eSIM functionality, though this requires Android. Finally, test the eSIM on a friend’s compatible phone to rule out account issues before deciding on a replacement device.
If your device isn’t listed as eSIM-compatible, verify hardware via official specs, ensure it’s carrier-unlocked, or switch to a physical SIM or eSIM adapter; otherwise, test on another phone to isolate the issue.
What Are the Real Benefits of Using a Prepaid eSIM Over Roaming or Local SIM Cards?
A prepaid eSIM delivers immediate connectivity without hunting for a local SIM kiosk or dealing with airport vendors. Unlike roaming, which racks up daily fees and unpredictable per-MB charges, a prepaid eSIM locks in a flat, upfront data cost, making budgeting effortless. Compared to a physical local SIM, it sidesteps the need to carry a tiny card, manage a second number, or risk damaging your phone’s tray. You can install a prepaid eSIM before departure, then switch profiles instantly upon landing. This removes the delay and language barriers of in-country registration. The real winner is control: you pick the exact data allowance and duration, and because the eSIM stays active alongside your primary line, you keep your home number for calls and texts—something a local SIM cannot offer. It’s simply the most flexible, cost-transparent way to stay online abroad.

Cost Control: How Pay-As-You-Go Data Keeps Your Budget Predictable
Predictable budgeting hinges on the precise cost structure of prepaid eSIM data. Unlike post-paid roaming, which accrues daily or per-megabyte charges that can spiral silently, pay-as-you-go plans require upfront payment for a fixed data allowance, making the total cost immutable. This eliminates bill shock and simplifies expense tracking, as you are only charged for the specific plan you select. If you exhaust the data bundle, you can actively choose to purchase another tier or stop, thereby capping expenditure. This model transforms a variable, unpredictable roaming expense into a fixed, known quantity, directly enabling **strict budgetary control for international travel**.
How does pay-as-you-go data keep my budget predictable? You pay one flat rate before travel, and no hidden fees can accrue during your trip, so the final cost is the initial price you paid, with no possibility of overage charges.
Instant Connectivity: Why You Can Skip the Airport SIM Kiosk Entirely
The second your plane lands, your phone pings with a welcome message—that’s the magic of instant connectivity with a prepaid eSIM. You skip the chaotic airport SIM kiosk entirely because activation happens before you even board, often via a QR code scanned in the departure lounge. No passport photocopying, no fumbling with tiny nano-SIMs, no haggling over data packs in a foreign language. While fellow travelers queue and sweat, you’re already navigating to your hotel or messaging your family. The setup takes under two minutes, and your eSIM seamlessly switches on as soon as you connect to a local network. This is the ultimate convenience: land, unlock your phone, and go—no detour, no hassle.
How to Choose the Right Prepaid Data Plan for Your Specific Trip Length and Usage Habits
To pick the right prepaid eSIM, first map your trip length against data volume, not just days. If you’re traveling for a long weekend, a 3-day, 2GB plan beats a 30-day one with unused data. For heavy usage—streaming, maps, or video calls—calculate roughly 1GB per day, then round up to avoid mid-trip top-ups. Check the plan’s validity window carefully, because some eSIMs activate on purchase, not first use, which can eat your time before you land. Your usage habits often change on vacation, so lean slightly higher on data than your home routine suggests, but never buy more than 20% extra. For frequent light check-ins, a low-data, long-validity plan works, while daily travelers should pick the shortest window that covers the full trip plus one buffer day. Always verify if the plan supports tethering if you’ll share a connection, since some prepaid eSIMs restrict it, forcing you to buy a second plan anyway.
Decoding Data Allowances, Validity Periods, and Speed Tiers
When picking a prepaid eSIM, don’t just glance at the gigabytes—decode the fine print. A flashy 20GB allowance means little if it expires in 7 days when you’re traveling for three weeks, so match the validity window to your exact return date. Speed tiers also hijack your experience: “unlimited” often throttles to 128kbps after a daily fair-use cap, making maps painfully slow. Look for plans labeling their post-cap speed (3G versus 4G) and prioritize **high-speed data allowances** over raw size when you’ll stream or navigate. A 5GB plan with full 4G speed for 15 days beats a 10GB plan that drops to snail pace on day two.
Regional vs. Global Coverage: Which Type of Package Saves You More Money?
Choosing between regional and global eSIM packages hinges on your itinerary’s geographic density rather than total trip length. A regional package for prepaid eSIM wins on cost per gigabyte when you stay within one zone—say, Europe or Southeast Asia—since carriers bundle multiple countries at a steep discount versus single-nation rates. Global coverage, however, becomes cheaper if you hop across three or more continents, as buying separate regional plans multiplies base fees and activation overhead. Calculate your likely data burn per country; for short hops (under five days per nation), regional plans often expire before you use your allowance, whereas global flat-rate data carries over across borders. For multi-destination intercontinental trips, one global plan avoids the penalty of paying regional premiums for sparse usage patterns.
Can You Manage and Top Up Your Prepaid eSIM While Traveling or After It Expires?
Yes, you can easily manage your prepaid eSIM while traveling, as long as you have a Wi-Fi connection or another active data source. Most providers offer a user dashboard or app where you can check your remaining balance, monitor data usage, and add a top-up instantly without needing to visit a store. However, after your plan *expires*, your data access stops, but the eSIM profile usually stays on your device for a grace period. You can still log in and top up during this window, but once the provider deletes the profile—often after 30 to 90 days—you may need to purchase and install a brand-new eSIM QR code. Always save your original QR code offline to reinstall it if your phone resets, which keeps your travel connectivity hassle-free.
How to Recharge Your Plan Without Losing Your Number or Existing Data Balance
To recharge a prepaid eSIM without forfeiting your number or remaining data, always initiate the top-up through your carrier’s official app or website while logged into the same eSIM profile. Select a **renewal option that preserves your existing balance**, often labeled “extend validity” or “data rollover,” rather than a new plan purchase. Confirm the recharge applies to your current ICCID, not a new eSIM issuance. Avoid deleting the eSIM profile during the process, as that erases the number. After payment, reboot your device and check the balance via the carrier portal to verify that both the new validity and leftover megabytes are intact.

Monitoring Usage in Real-Time: Tools and Alerts Built Into the Carrier App
Carrier apps for prepaid eSIMs put real-time monitoring at your fingertips, with a live dashboard showing remaining data, talk time, and validity down to the minute. Built-in alerts trigger at set thresholds—like 50%, 20%, and 10%—via push notifications or SMS. You can also enable a hard data cutoff to prevent overages. For granular control, the app logs daily usage by session, letting you spot unusual spikes. Most platforms offer a usage refresh on demand, plus a consumption rate meter that estimates remaining hours. To manage effectively: open the app’s home tab for the live counter, set custom alert percentages, then review the daily breakdown under “activity.” The same tools remain accessible even after expiry, though counters freeze.
What Common Problems Do Users Face With Prepaid eSIMs and How Can You Solve Them Quickly?
With prepaid eSIMs, the most common headache is activation failing or taking forever—usually because your phone isn’t unlocked or the QR code expired. Fix it fast by scanning the code with a strong Wi-Fi connection, then restarting your device; if it still fails, ask the provider to regenerate a fresh QR code. Another big issue is no data after install, often due to wrong APN settings or the eSIM profile not being set as the active line for cellular data. Quickly toggle airplane mode, manually enter the APN from the provider’s support page, and make sure your physical SIM is disabled.
Battery drain and “No Service” glitches are also common—just re-download the profile after a reboot, or switch the eSIM on and off in settings.
Lastly, if you run out of data mid-trip, don’t panic: most prepaid eSIMs let you top up instantly via their app, so avoid buying a new eSIM entirely.
Why Your Data Isn’t Working After Activation and the Quick Fixes That Work
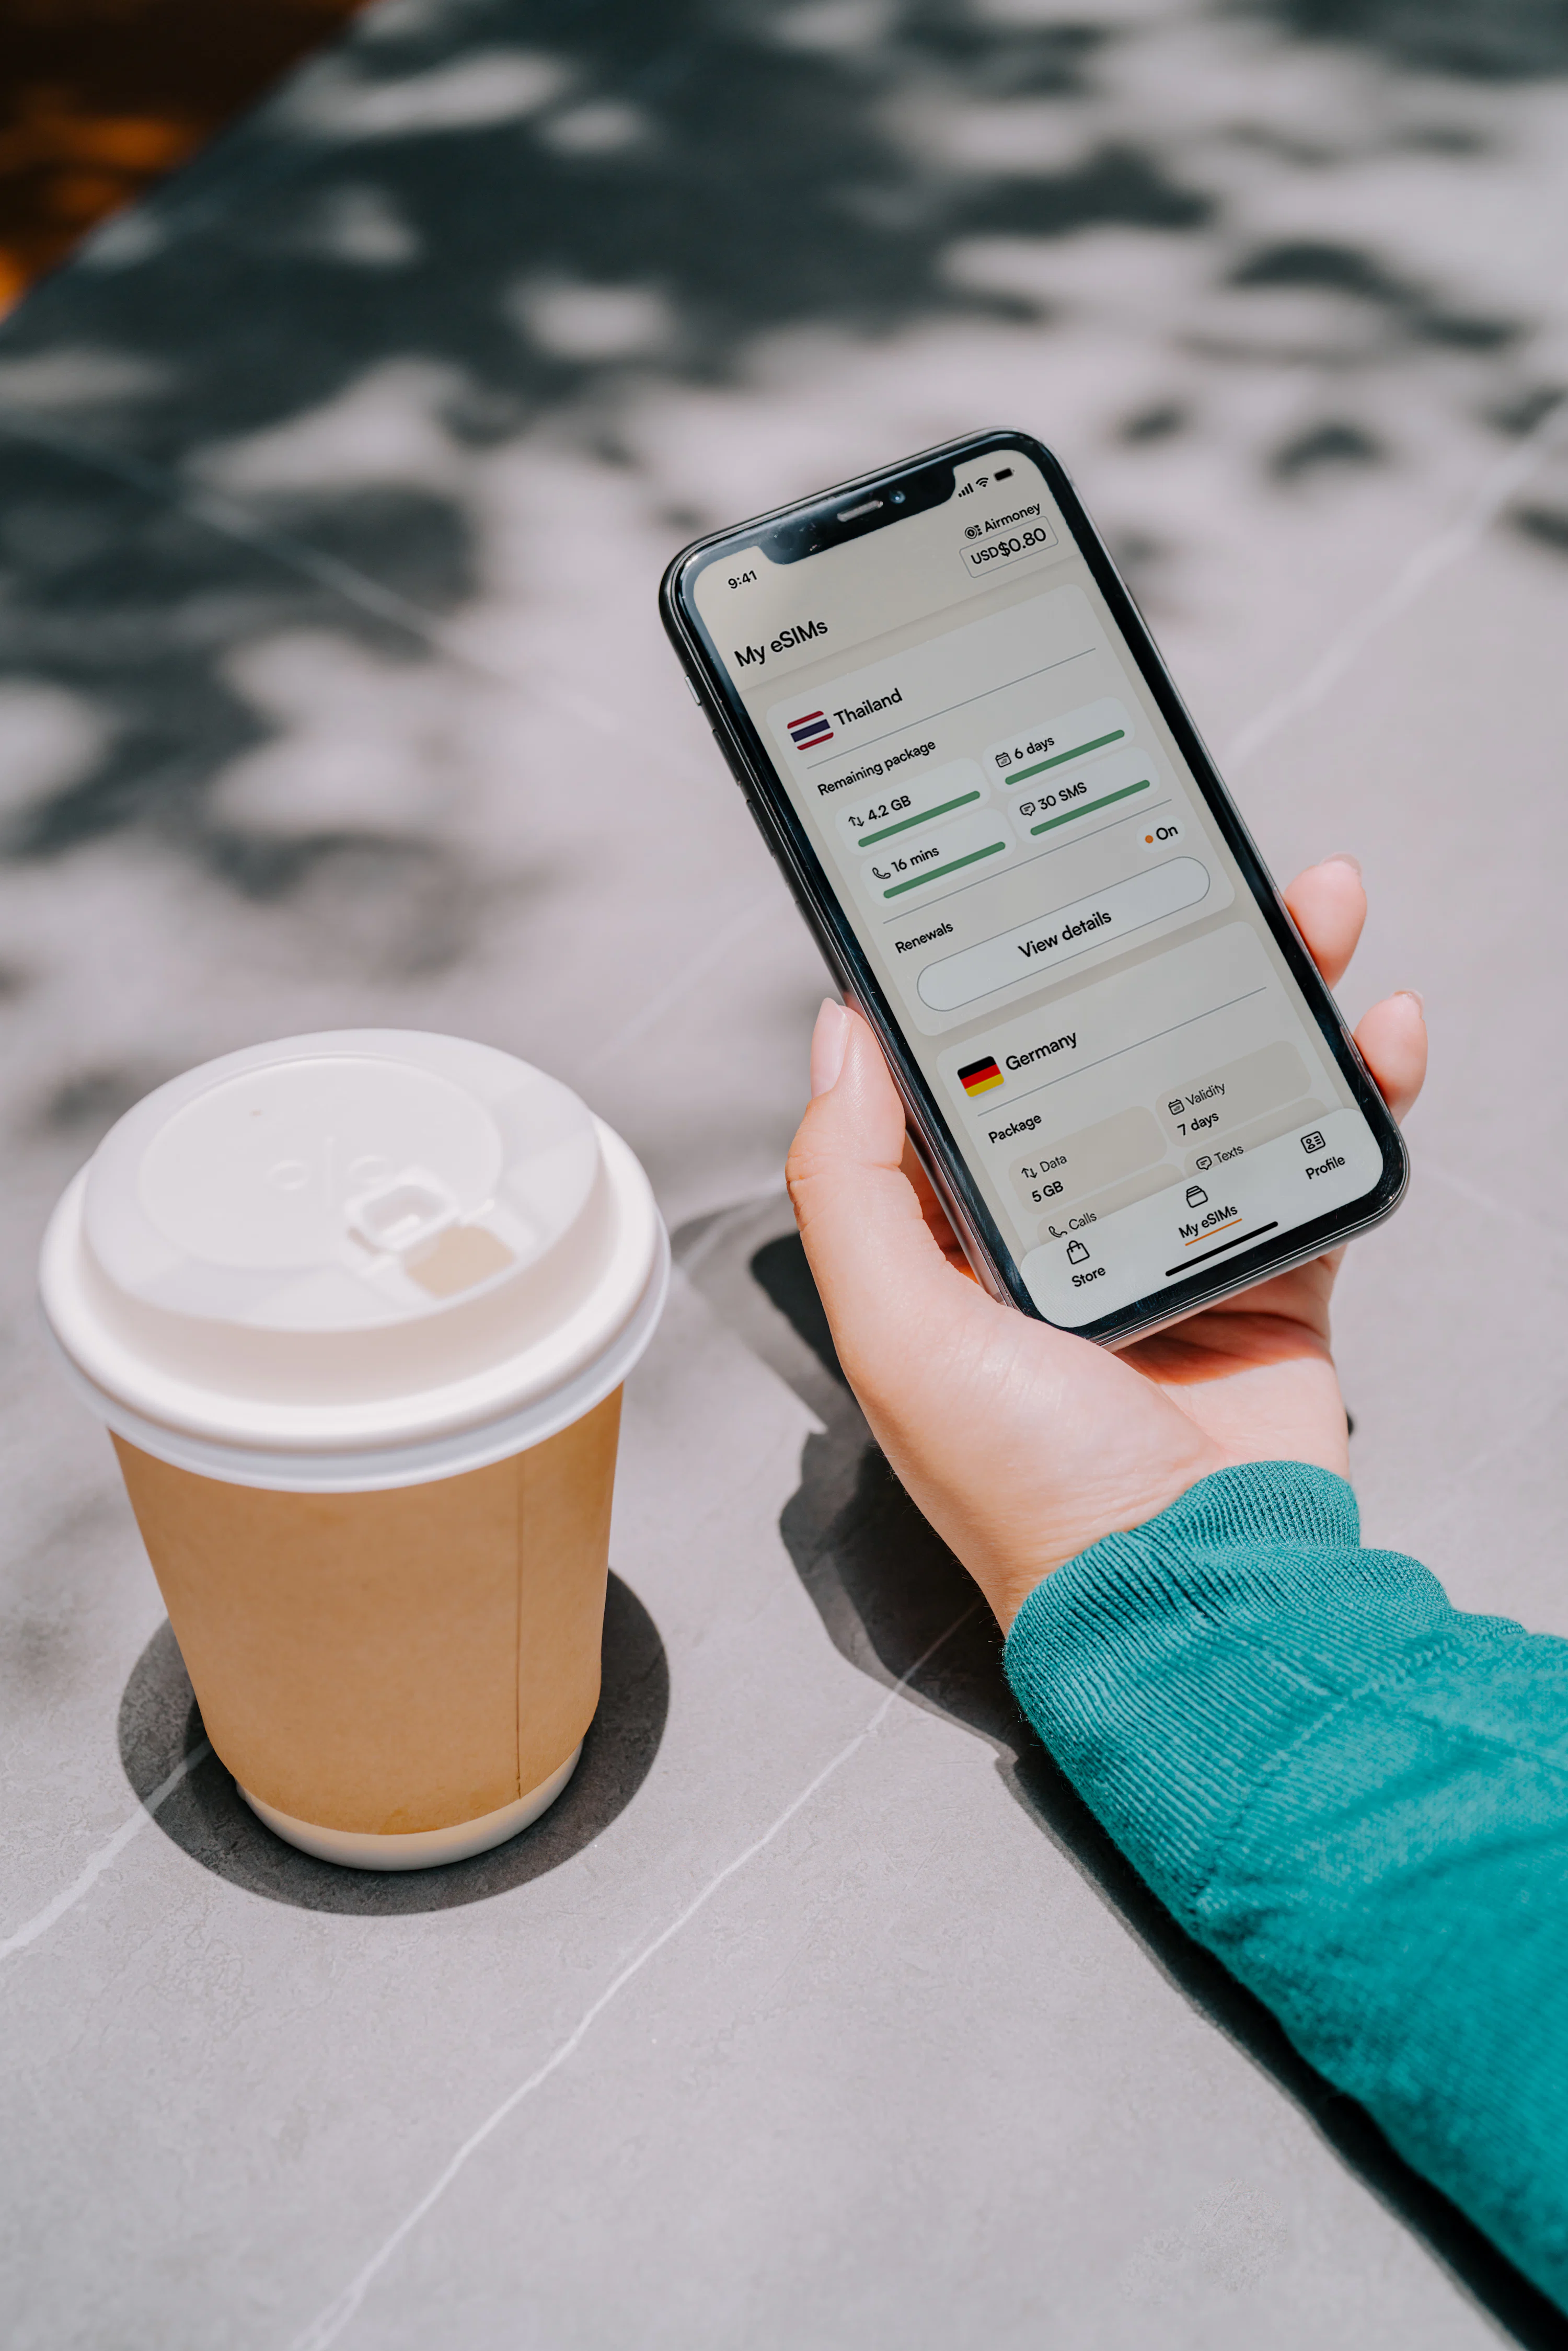
After activating your prepaid eSIM, data failure often stems from incorrect APN settings, especially on Android devices. Your carrier’s profile may load, but the access point name remains unset, blocking connectivity. Quick fix: manually add or edit an APN matching your provider’s exact specifications, then restart. Another culprit is a data toggle or roaming switch disabled in your device settings—many prepaid eSIMs rely on roaming data even domestically. Verify that “Data Roaming” is ON and cellular data is selected for the new line. Finally, check that your phone’s iOS or Android software is up-to-date, as older versions sometimes mishandle eSIM profiles. These steps resolve most activation data failures.
**Q: Why is my prepaid eSIM data not working after activation?**
A: The quickest eSIM Europe fixes are updating APN settings, enabling data roaming, and restarting your device—all resolve signal routing errors.
Avoiding Pitfalls: Dual SIM Settings, APN Configurations, and Hotspot Restrictions
When using a prepaid eSIM, dual SIM settings often cause silent data failures if the physical SIM remains primary for internet. Switch the eSIM to “default data” and disable “automatic network selection” for the secondary line. APN configurations for prepaid eSIMs frequently require manual entry—copy the exact APN from your carrier’s activation page, including lowercase letters and blank fields, or MMS and data will fail. Hotspot restrictions are common on budget eSIM plans: check if tethering is blocked in your plan’s fine print, and if so, adjust the device’s private DNS or disable IPv6 to bypass throttling, though this may violate terms. Always reboot after each change to force carrier profile reload.
Verify default data path, input APN precisely, and test hotspot after each adjustment to avoid prepaid eSIM connectivity pitfalls.